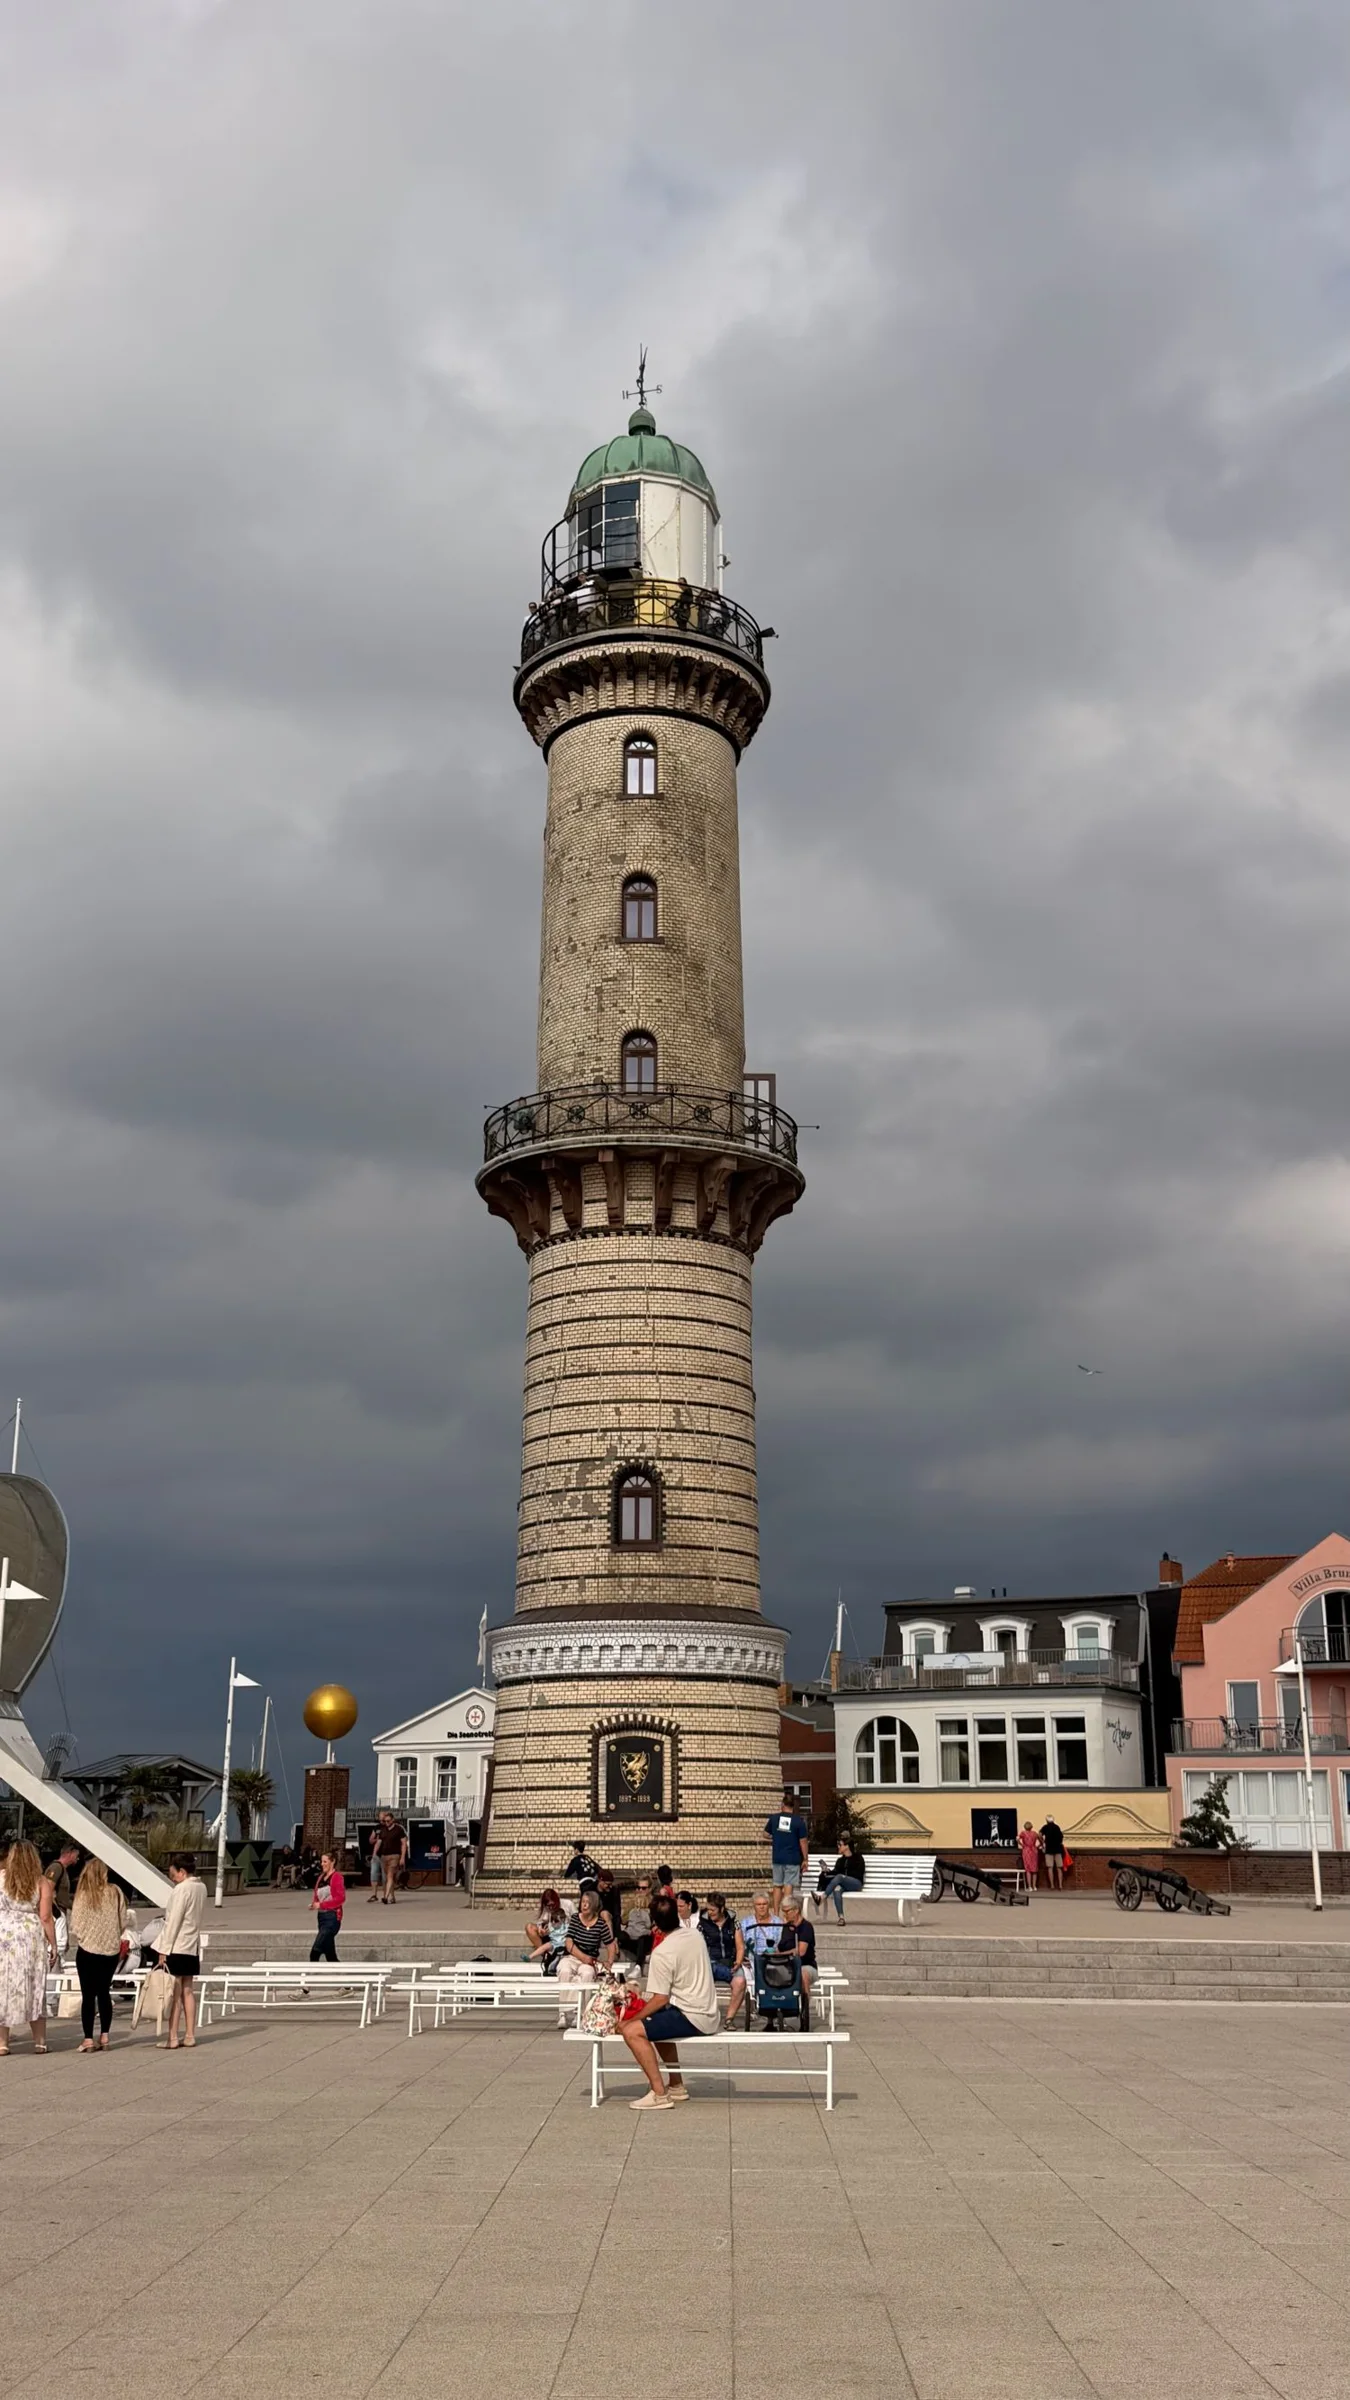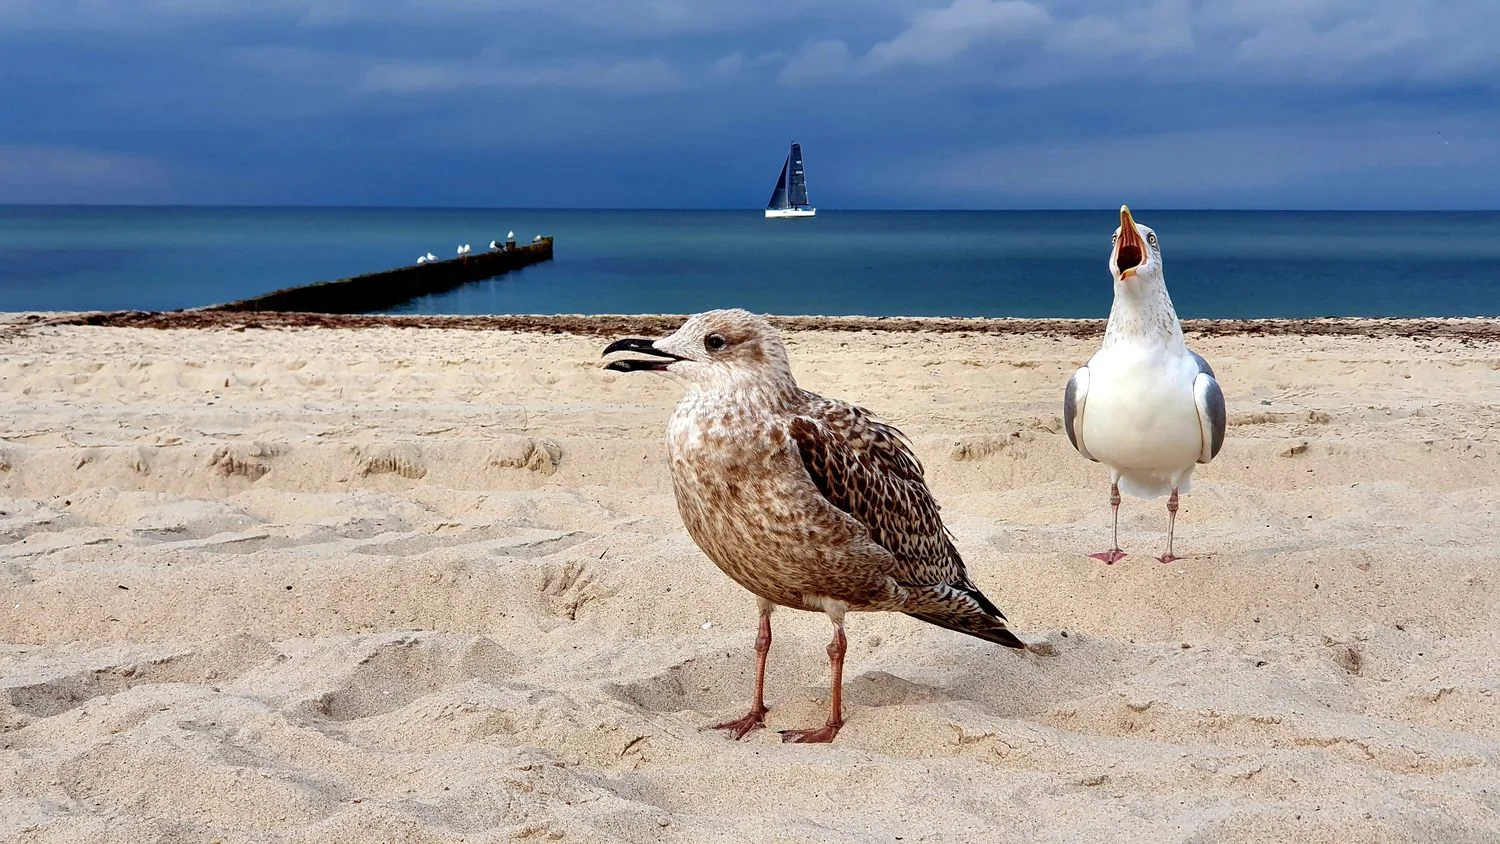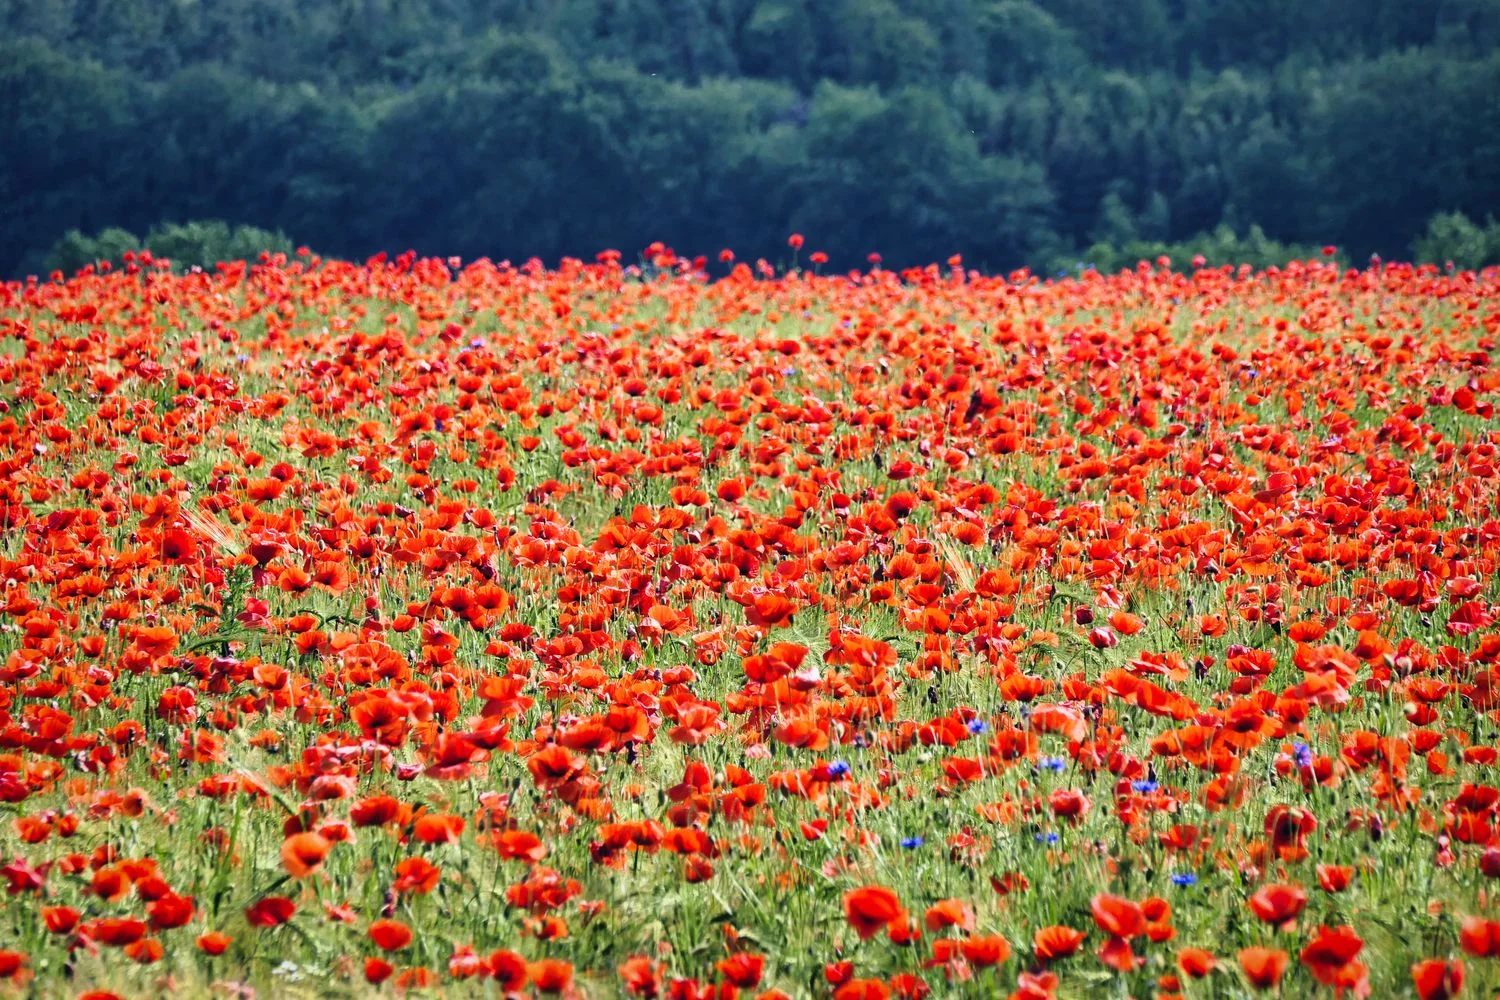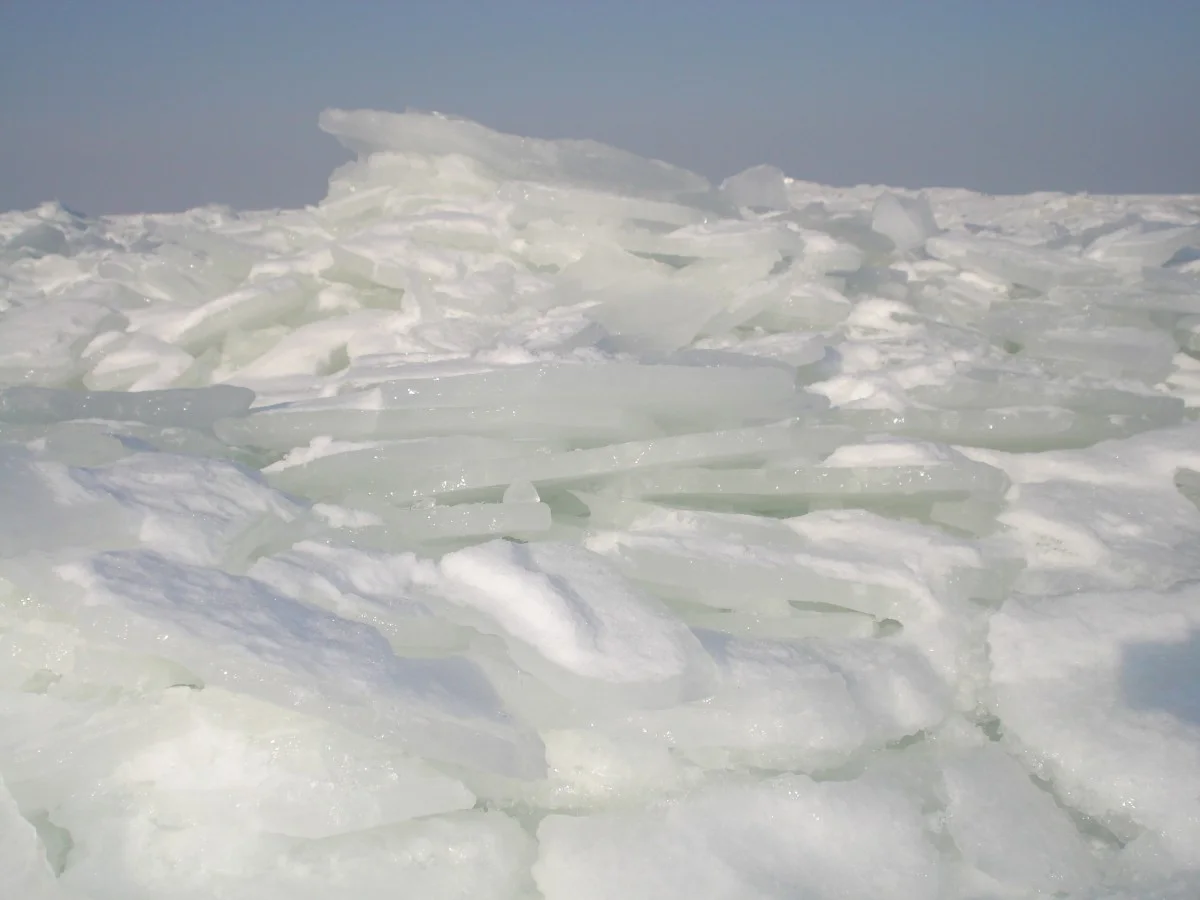
Winter light can reveal long shadows, clear outlines and quiet colours along the coast. For a photography outing, however, limited daylight is first a planning issue. An attractive subject is of little use if access is unclear in the dark or the return begins only after the last useful light has gone.
Choose the position before chasing the light
Find a permitted, accessible viewpoint and inspect it in daylight where possible. Check access, the surface and somewhere to stand without blocking a route. Dunes, closed harbour facilities and cliff edges are not necessary camera positions. A longer focal length or a tighter composition may provide the impression you want from a suitable distance.
For your actual date, check sunrise, sunset and the direction of the light. Not every Baltic beach faces east, and a stretch of water does not guarantee an unobstructed horizon. Buildings, trees and the shape of the shore affect when light reaches your position. A map and a simple direction check are more useful than a general instruction to visit the sea during golden hour.
Make a small subject list instead of changing locations
Plan two or three variations at the same place. A wide view might show the coastline, a medium composition the rhythm of wooden posts or buildings, and a detail an interesting texture. Those differences come from observation and framing rather than three extra journeys. If the sky produces little colour, a restrained composition may be the better result anyway.
Stay on permitted ground while moving between views. A potentially better photograph from elsewhere does not justify crossing a barrier. Avoid unnecessarily making identifiable strangers the main subject. At a busy place, waiting briefly is often the simplest way to improve a composition.
Prepare the camera for cold hands
Charge batteries before leaving and protect a spare if you use one. Set up frequently needed controls before you are outside trying to operate small buttons in gloves. The same applies to a phone: free storage, sufficient charge and a secure grip matter more than installing a new camera application just before departure.
For still subjects, hold the camera steadily or use a tripod if the location and rules permit it. A tripod must not obstruct the path or stand unattended in wind. With moving water, shutter speed changes the appearance: shorter exposures tend to hold movement, while longer ones can soften it. Try a few deliberate variations and review the results rather than collecting many nearly identical frames.
Protection and the return are part of the process
Keep equipment away from spray and use appropriate protection without overestimating the device’s limits. Moving from cold conditions into warmth can create moisture and condensation. Follow the manufacturer’s advice on temperature changes and avoid opening bags unnecessarily in wet surroundings. A dry internal pocket for cloths and small accessories makes organisation easier.
Set a return time that does not depend on one last photograph. If the light develops differently from your expectations, finish on time anyway. Check weather warnings before starting; during storms or dangerous conditions, keep yourself and the equipment in a suitable safe place. The photography exercise can be repeated another day.
Back indoors, make a small selection. Which image actually offers something different, and which simply repeats the same view? Note whether another permitted position would be easier to reach next time. A brief winter outing can improve the next plan even when the hoped-for dramatic sunset never appears.